3D Analytics System FAQ
Camera
The video streaming from cameras may lose while the power is unstable. User can rebuild the video after connect or disconnect the adapter. However, the adapter or camera may be damaged if this issue keeps happening.
What if the network cable between camera and PC is broken? The Cable Tester is not the only way to check it. Switching the cable across CH1 to CH4 can help you figure out where this issue comes from.
Software
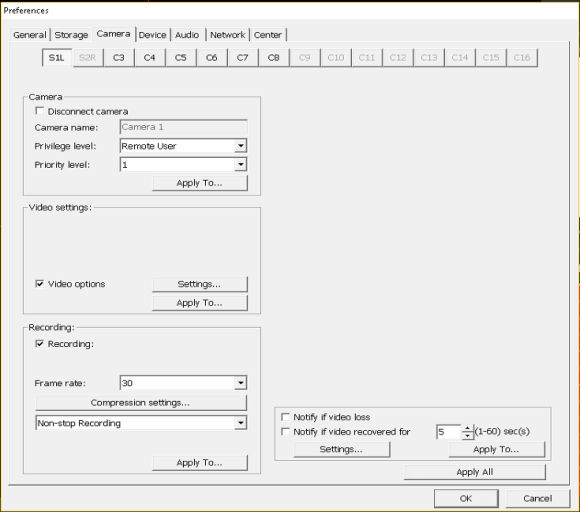
There is a “Disconnect” feature in the preference page. It can restore the video which is due to the driver on capture card stop getting the video. Please ensure the video loss issue is not because of this function.
If Site Server version is huperVision4000, it can drag and drop the video on Site Server. Please check the 16 Spilt-Screen in the software to ensure the video loss issue is not because of this function.
Hardware
- Graphics Card
Please check the Windows Device Manager to ensure graphics card driver has been installed properly. If the correct driver does not be installed, Windows will give is a basically driver. However, works with this kind of driver cannot have completely performance. The video on Site Server may not be displayed. Please install the correct graphics card’s driver.
- Capture Card
Sometime the capture card driver may corrupt after the whole system shut down abnormally. Site Server will show you “Connection Error” on each channel. In order to solve this issue please find BTSeup.exe and Uninstall.exe where are at C:\huperlab\huperVision\driver\hmcap2r. Please run the Uninstall.exe first, then BTSetup.exe to install the driver again.
What if this solution does not help, the capture card on this machine may be damaged.
Please ensure the “C:\ProgramData\Microsoft\ Windows\Start Menu\ Programs\StartUp” has Site Server’s shortcut. The only shortcut with permission to start automatically is at “C:\huperlab\huperVision\bin\StartMulti.exe”.
Cannot be Worked Again after Shut Down
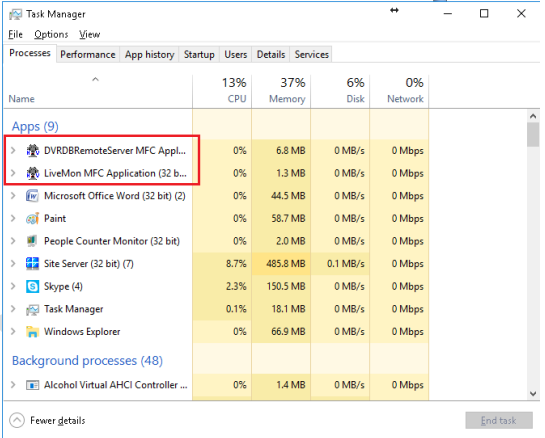
Site Server has two kinds of Watch Dog at background when the software is running. It can restart Site Server automatically when it does not response. If user needs to restart Site Server without restart the whole system, please confirm these two applications are shut down.
License Key is Undetectable
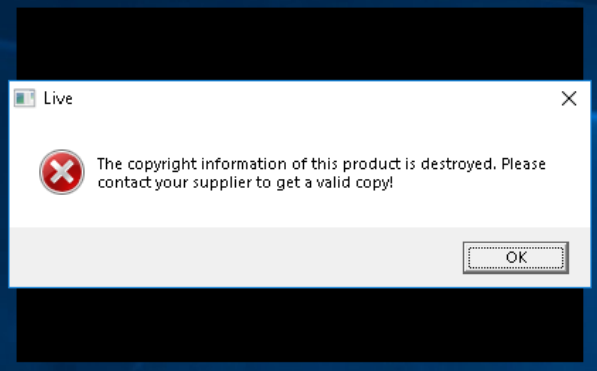
This error message may appear because the issues below.
- Users remove the license device themselves once.
- The system crashes in some sort of reasons.
- The PC or the license key is unstable while the system is starting.
All of these issues above can be fixed after reinstall the driver by running BTSetup.exe where is at C:\huperlab\huperVision\driver\hmcap2r
However, the license keys driver may be locked by Windows sometimes. In order to reinstall the driver please delete the driver manually from Windows Device Manager first, then restart the whole system. After the system is ready, please check Device Manager to ensure the driver has been installed. If it is not installed automatically, please install it manually.

Software Error
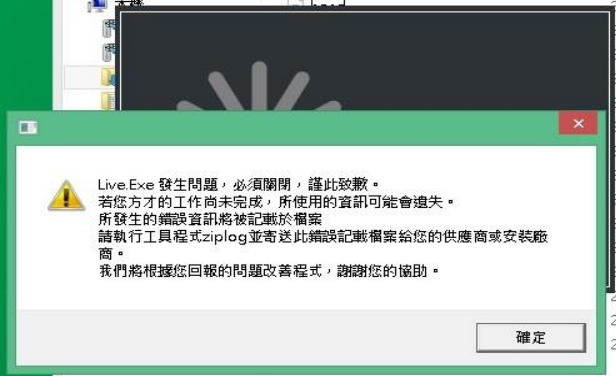
This error message may appear because the issues below.
- Site Server is blocked by Windows
- The graphics cards cannot show the video from cameras
- User do some weird configure on Site Server
When software crashed, an Error Log will be created at C:\huperlab\ huperVision\bin. The log’s name includes time that Site Server crashed. We can figure out what happened on Site Server if user send us the log.
There are two scenarios need to do the calibration process on Site Server. The first is when you work which 3D camera at first time. The second is after you moved the 3D camera or adjusted the angle and height. If there is something wrong, the 3D camera Setup Wizard will show you the error message. Please refer to the solutions below to solve the problem that you have.
The Video Cable is reversed
If the camera you keep needing coaxial cables, please try to switch these two video cables which are connected on server. The correct order of the 3D camera image is below.
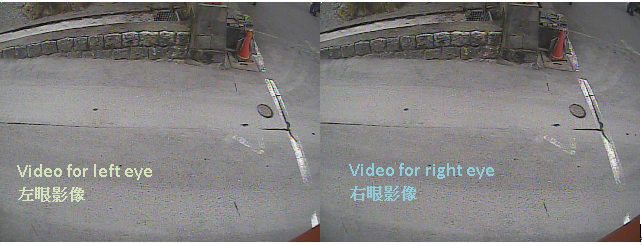
The first view should cover more of the left side, the second view should cover more of the right side. If the video on Site Server does not look like that, please try to switch these cables which are connected on 3D camera or the server machine.
The Calibration Data is Wrong
Every 3D Camera has an unrepeatable calibration data. If you cannot find it, please contact your product provider or directly contact huperLab.
There is no Reference Object
The 3D Camera Setup Wizard needs something for referring. Please place something colorful or ask someone to stay under the camera. It helps you finish this process.
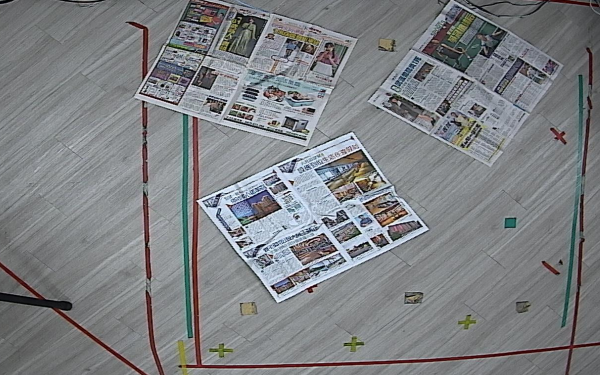
The Model of the 3D Camera does not suit your environment
Every different model of 3D camera has its own working environment. If you try to change the setup position, the bracket angle, or the install height on the wall. Please contact your product provider or directly contact huperLab.
Loose screw on the bracket
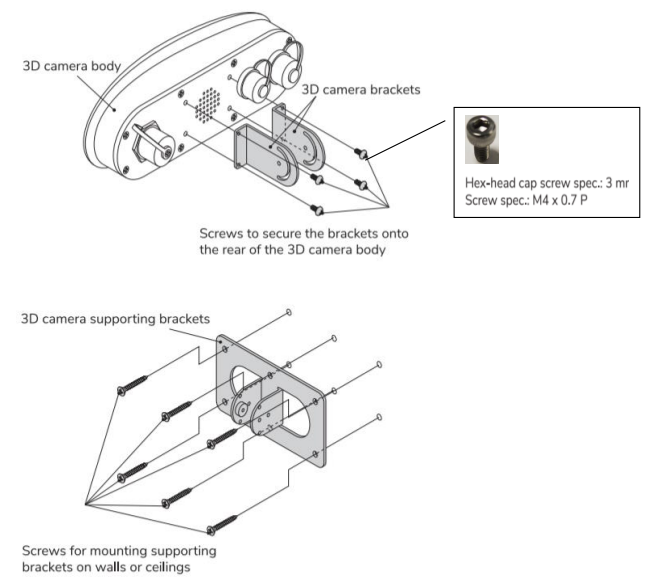
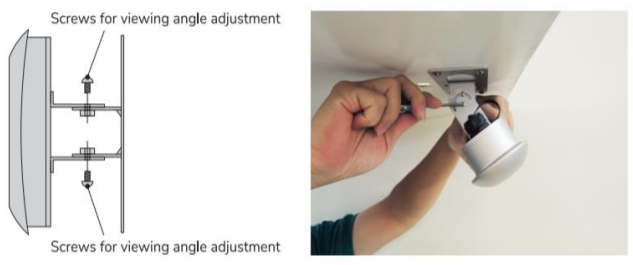
When the 3D camera was mounted on the ceiling or the wall. Please try not to adjust or move it. If the bracket is not fixed, it will affect the accuracy. Please contact the product provider in your country before you do that.
Effect by the System
I. System is too busy
Site Server needs enough CPU performance and memory to work with. If the system resource has been taken by other program, Site Server may not work properly. Please ensure the system load is below 75%.
II. System is overheating
If the machine is overheating, the whole system’s performance will be reduced until it cool down. In the meantime, the IVS on Site Server will not work properly. If the device is in a poorly ventilated area, please improve the airflow.
The View does not Focus on the Target Area
On the IVS setting page, you can see two different size of the white boxes on image.
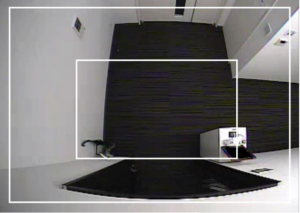
In order to have the best accuracy, please keep the target area in the small box.
If the detection line need to be placed out of the small box, please ensure you have given it enough space for the passenger to pass through the line. Please try not to place the line too close to the big box.
The Detection Line is placed on a bad Location
Please avoid the situations below
I. The Detection line on something
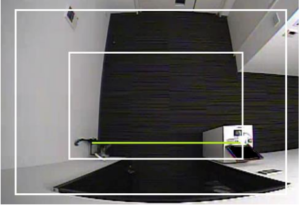
The 3D IVS will not allow you to draw the line on the unbalance floor. It causes the false alarm or missing alarm easily. If the accuracy is not good, please check whether the line is blocked by something or place on something.
ii.The Detection line is draw on wall
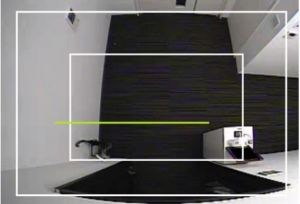
This scenario is same as the line get placed on something. It causes the false alarm or missing alarm easily. Please check whether the line was draw on the wall.
iii. The Detection line is close to the edge of the video
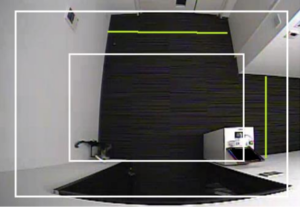
When the detection line is too close to the edge of the video, it may cause the missing alarm easily when someone pass through the view from outside. Please change the mounting position and ensure the detection line is in the small box.
Measure the mounting height and angle again
Sometimes the accuracy changes because the current mounting height and angle is different from the original setup. Please measure these two value and do the calibration again.
If 3D IVS does not work properly and wish huperLab can figure out what happened, please follow the steps below to export the video clip.
i.Copy the configurations files
You can find these files where is at C:\huperlab\hupervision\Plugins
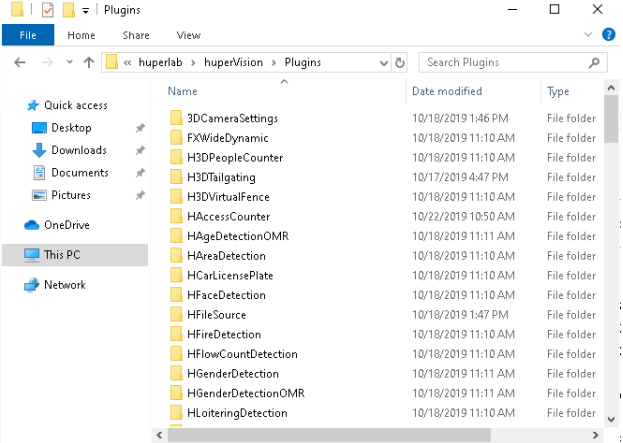
First of all, please take the 3DCameraSettings folder. The Second folder depends on what kind of 3D IVS you used. For example, send us the “H3DPeopleCounter” if you enable the 3D People Counter on Site Server.
ii. Choose the video clip which contains the event or issue that you want to report
The proper video clip is 10 seconds before the issue occurred and 10 seconds after the issue.
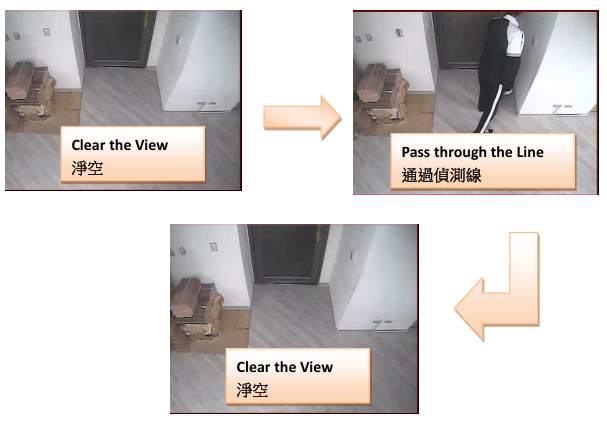
If you cannot find any moment which nothing moves, please at least leave more time before the issue you report occur.
iii. Exporting the video on Record Player
You can find Record Player on Startup Menu or click the “Gear icon” on Site Server. Please save the video clip in hme. The format can be changed when you choose the place you want to save.
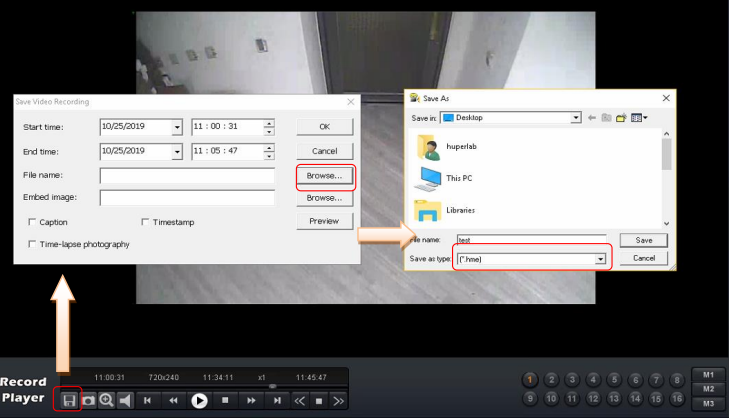
If you see the message ‘The video timeline is out of range’, please modify the interval from preferences page.
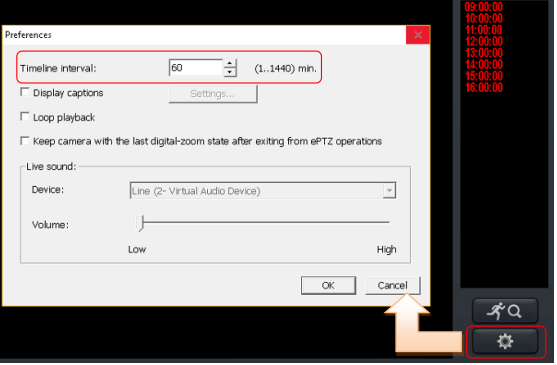
iv. Pack all the files into a Zip File
Please pack all the file and send us. If you do not have any cloud drive, please contact support@huperlab.com
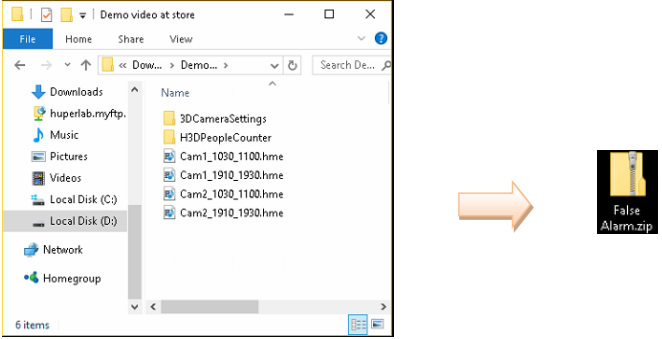
The steps below guide you how to back up the configuration files and restore them.
i. Take out the configuration file
The configuration file is located in C:\huperlab\hupervision\plugins
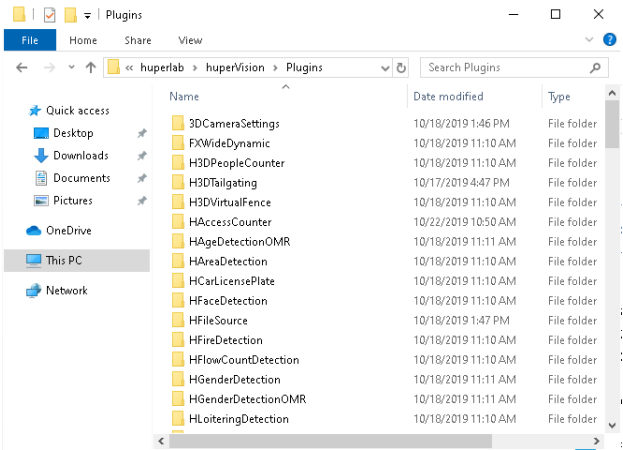
First of all, please take the 3DCameraSettings folder. The Second folder depends on what kind of 3D IVS you used. For example, send us the “H3DPeopleCounter” if you enable the 3D People Counter on Site Server.
ii. Restore the 3D Camera Setting
Before Site Server runs, please paste all the files to C:\huperlab\hupervision\plugins. In the meantime please ensure the order of the 3D camera is same as previous machine. Otherwise the 3D IVS and 3D camera cannot work properly.
iii. Start the 3D Camera Setup Wizard
Please work with 3D Camera Setup Wizard to load the configuration file.
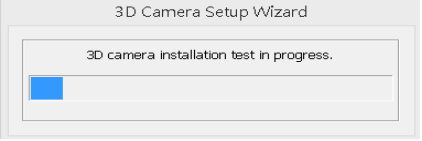
After the process is done, Site Server will start automatically. Once everything is done, please manually enable the 3D IVS.
